9 CMD Commands to Fix Windows 11 Problems
When Windows starts freezing, throwing errors or losing the internet for no clear reason, reinstalling it or paying for a repair app is rarely where I’d start. Windows already includes a set of command line tools that check and repair system files, the drive, the network settings and more, and they cost nothing.
Here are nine of them, plus one bonus tool that isn’t a command. I put them in the order I’d run them. I also checked each one against Microsoft’s documentation, and the order of the two repair commands matters more than many guides suggest.
KEY TAKEAWAYS
- For corrupted system files, run DISM first, then SFC. That’s Microsoft’s recommended order.
- Network trouble has two levels: flush DNS and renew your IP first, then reset Winsock and TCP/IP if that didn’t help.
- Every command here is built into Windows, but you need Command Prompt opened as administrator for nearly all of them.
- Some commands take a long time (chkdsk /r can run for hours on a big drive) or need a restart, so don’t start them when you’re in a hurry.
IN THIS GUIDE
- Open Command Prompt as administrator
- DISM: repair the Windows image
- SFC: check system files
- chkdsk: check the drive
- ipconfig: refresh your network connection
- netsh: reset the network stack
- winget: update your apps
- Check drive health with PowerShell
- tasklist and taskkill: stop a stuck process
- powercfg /energy: find power problems
- Bonus: Windows Memory Diagnostic
- Questions people ask
Prefer to watch? Here’s the video, and each command below links to its moment in it.
Open Command Prompt as administrator
Almost every command below needs administrator rights. Type cmd in the taskbar search box and Command Prompt shows up as the best match.
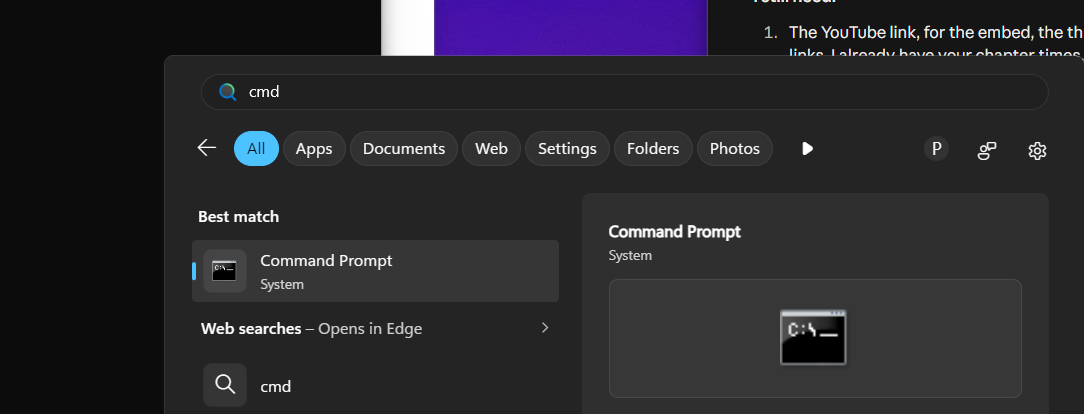
Right-click Command Prompt, choose Run as administrator, and approve the permission prompt. You can keep the same window open for every command in this guide.
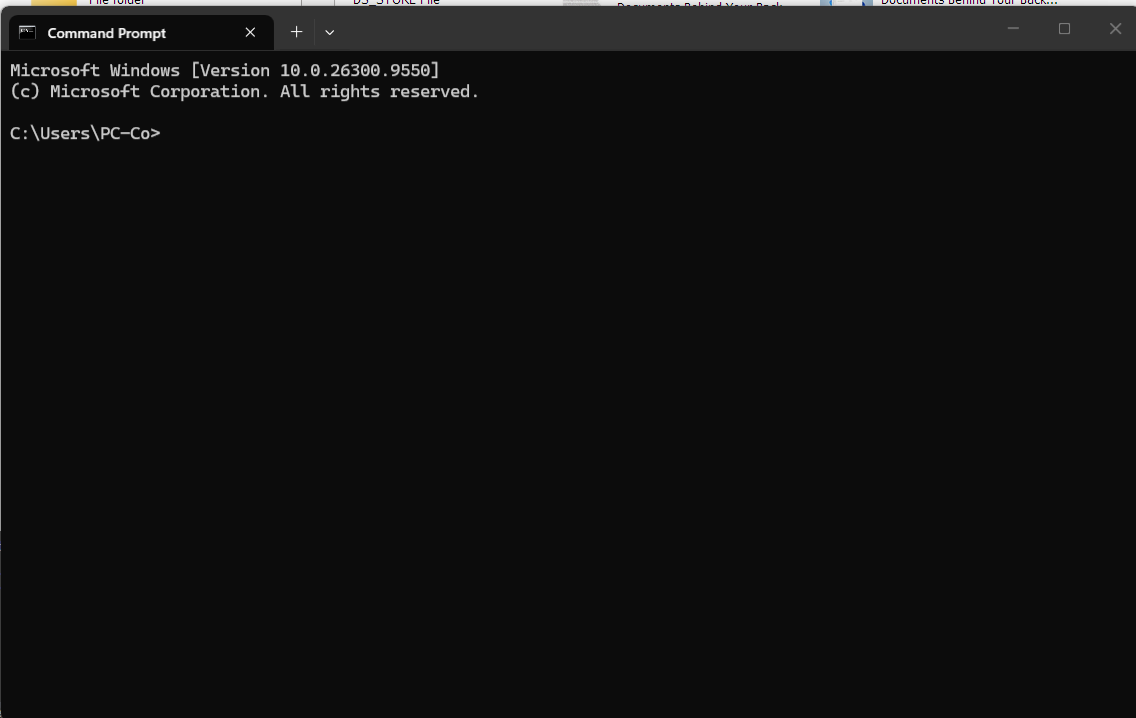
Commands appear in code boxes so you can copy each one exactly. Paste or type it, then press Enter.
DISM: repair the Windows image
DISM works on the component store, the reference copy Windows uses when it needs a clean version of a system file. If that store is damaged, other repair tools can’t find good files to restore. Running DISM first fixes the store, and it pulls fresh components through Windows Update, so you need to be online.
DISM /Online /Cleanup-Image /RestoreHealthMicrosoft’s own instructions say to run DISM before the System File Checker, and describe it as taking several minutes. On my runs it can take fifteen to twenty minutes, depending on your connection and how much needs repairing. The progress bar can sit at the same percentage for a long time, so give it time before assuming it’s stuck.
When it reports that the operation completed successfully, restart the PC.
Watch this step in the video (2:41)
SFC: check system files
System File Checker scans the protected Windows files, compares them with the reference copies, and replaces any that are damaged. It’s the command most people reach for first, but it’s more effective after DISM.
sfc /scannowA percentage appears while it runs, and it ends with one of four messages, according to Microsoft:
- No integrity violations: your system files are fine.
- Found and repaired corrupt files: restart and run it again to confirm.
- Found corrupt files but couldn’t fix some: run DISM again, restart, and repeat SFC. The details are in
C:\Windows\Logs\CBS\CBS.log. - Could not perform the operation: Microsoft suggests running the scan in Safe Mode.
Watch this step in the video (1:47)
chkdsk: check the drive
The first two commands deal with Windows files. chkdsk looks at the drive itself, both the file system structure and the physical sectors. Run on its own, it only reports and doesn’t change anything. With /r it also looks for bad sectors and tries to recover readable data, and it includes everything /f does, according to Microsoft’s reference.
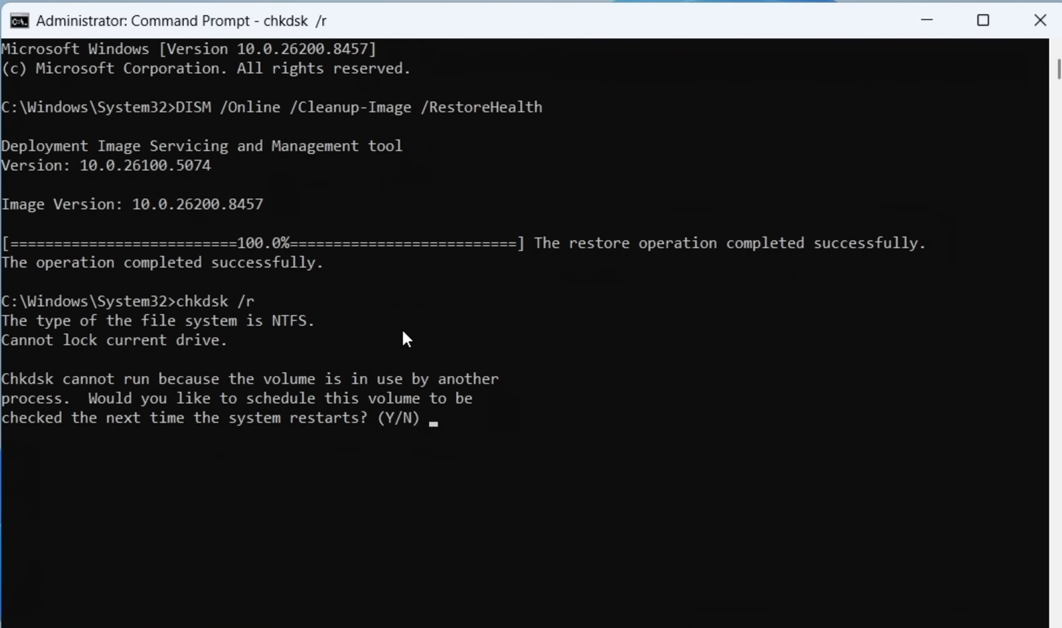
chkdsk C: /rBecause Windows is running from the C drive, the scan can’t start right away. You’ll be asked whether to run it at the next restart. Type Y, press Enter, and restart. The scan runs before Windows loads, then the PC boots normally.
BEFORE YOU RUN /R
A full surface scan reads every sector, so on a large hard drive it can take hours, and Microsoft says interrupting it is not recommended. On an SSD it runs much faster, but Microsoft notes that repeated full scans can add a little unnecessary wear. I wouldn’t run it on a schedule. Use it when you suspect disk errors, like files that won’t open or random freezes. If the drive might be failing, back up first.
Watch this step in the video (3:51)
ipconfig: refresh your network connection
If the internet says it’s connected but pages won’t load, start here. Windows keeps a local cache of website addresses, and when entries in it go stale, sites can load wrong or not at all. These three commands clear the cache, drop your current IP address and request a new one from the router.
ipconfig /flushdns
ipconfig /release
ipconfig /renew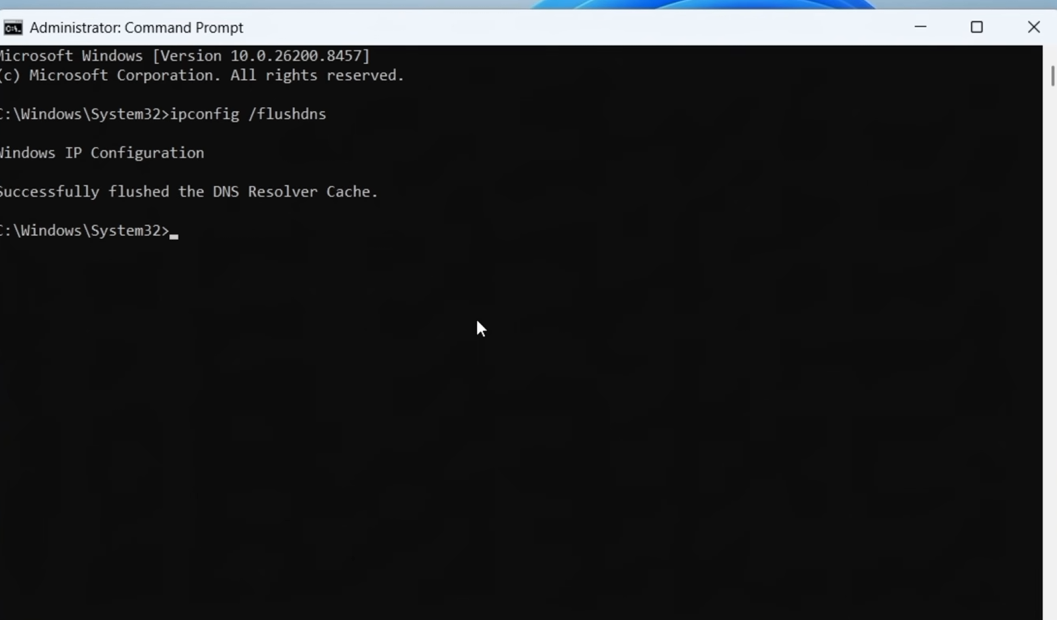
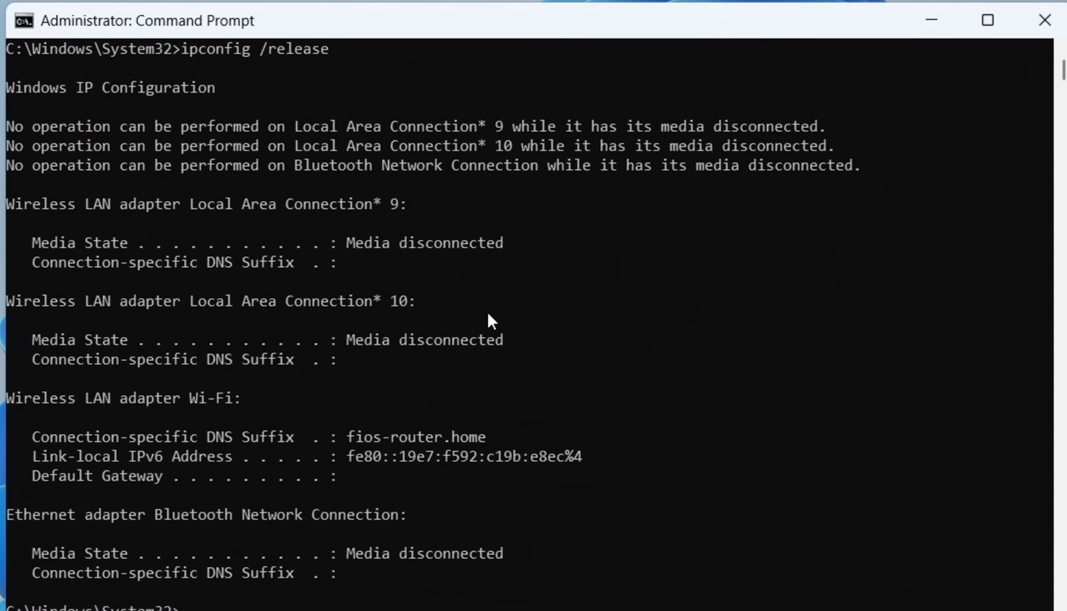
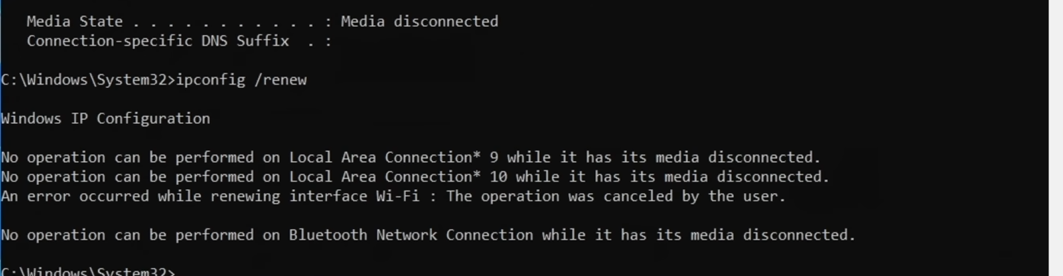
/flushdns confirms the cache was cleared. /release will cut your connection until /renew finishes, so run them one after the other. It’s what I run first when someone tells me they’re connected but nothing works, and it often fixes it without touching the router. Flushing the DNS cache and then releasing and renewing the address also fixed a network problem on my own PC. If you’ve given your PC a fixed IP address yourself, release and renew won’t do much.
Watch this step in the video (4:53)
netsh: reset the network stack
When refreshing didn’t help, the next step is resetting parts of the Windows networking stack. Winsock is the layer that lets apps talk to the network, and the TCP/IP settings control how connections work. Problems here can show up as apps that can’t get online, downloads that fail and sites that refuse to load, even after a router restart.
netsh winsock reset
netsh int ip reset
netsh int tcp reset
Restart the PC afterward, since the changes take full effect on the next boot. The commands are narrower than the Network reset in Settings, which wipes saved networks and adapters. Still, if you use a static IP address or custom DNS, write those settings down first in case you need to enter them again.
Watch this step in the video (5:58)
winget: update your apps
Winget is Microsoft’s package manager, and it can update many installed programs in one go. Outdated apps cause a share of the odd problems people blame on Windows, so it’s worth doing every month or so. It’s the command I like most, because it updates all your apps at once. Start by looking at what it wants to update:
winget upgradeThen update everything on the list:
winget upgrade --all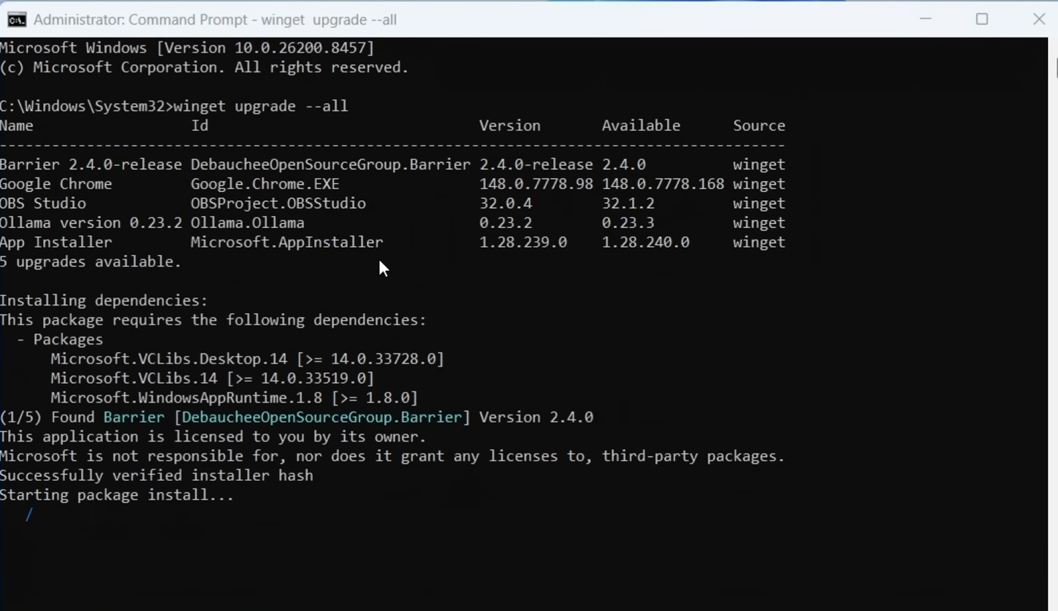
There are limits. Microsoft’s documentation says apps that don’t report a version are skipped unless you add --include-unknown, and apps you’ve pinned in winget are skipped too. It only updates apps winget knows about. It isn’t a driver updater, so graphics and chipset drivers still come through Windows Update or your PC maker. You may also see a prompt to accept source agreements, and typing Y accepts it.
Watch this step in the video (0:53)
Check drive health with PowerShell
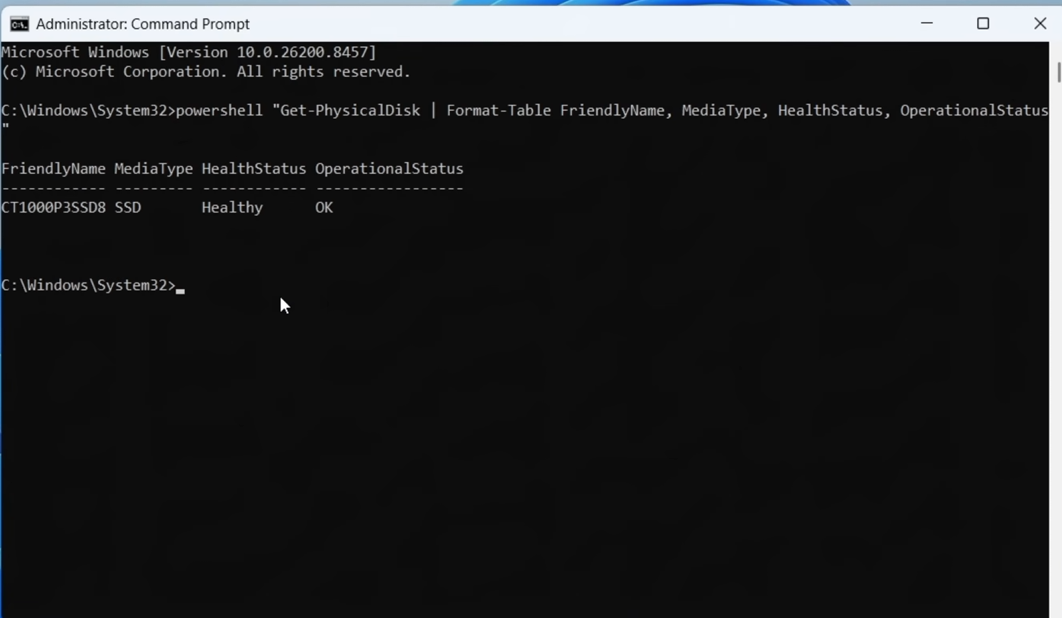
Drives keep track of their own condition, and Windows can read it. The older WMIC command many guides use for this no longer exists on current Windows 11, because Microsoft has removed it, so use PowerShell instead. You can run it straight from Command Prompt:
powershell "Get-PhysicalDisk | Format-Table FriendlyName, MediaType, HealthStatus, OperationalStatus"The result is a table of your drives, with the type and a health status. Healthy is what you want. If you see Warning or Unhealthy, back up your files right away and plan to replace the drive. A healthy reading doesn’t guarantee the drive will last, though, so keep backups either way.
Watch this step in the video (7:08)
tasklist and taskkill: stop a stuck process
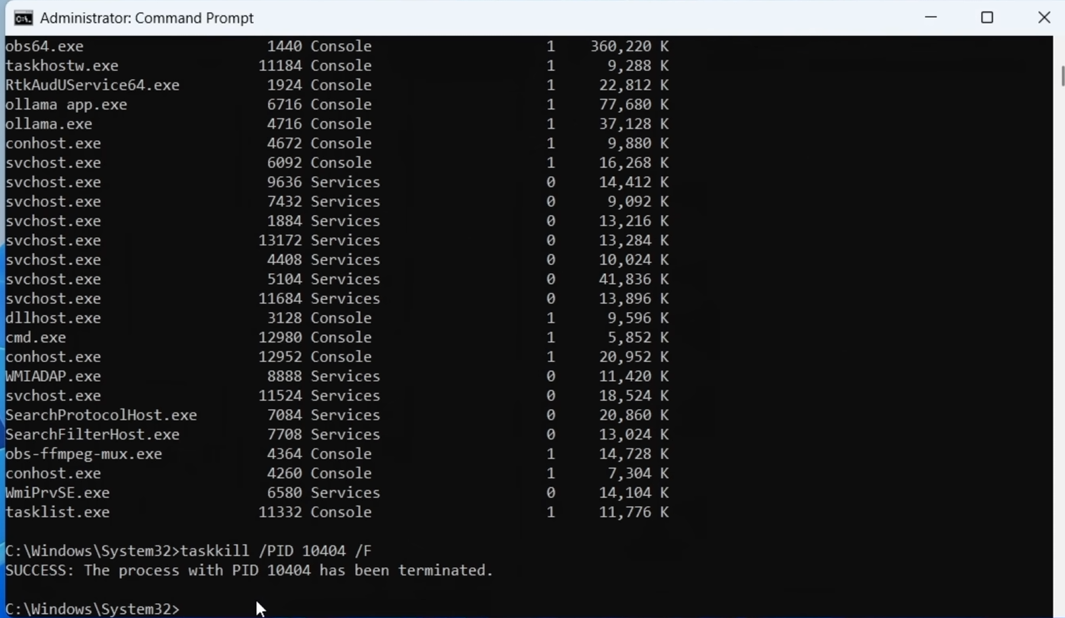
Task Manager does this too, but the commands are handy when the interface is sluggish or an app won’t close. tasklist lists every running process with its process ID (PID) and memory use.
tasklistFind the one that’s frozen or using a lot of memory, then end it by PID or by name. /F forces it to close.
taskkill /PID 1234 /F
taskkill /IM processname.exe /F
Swap in the real PID or name. Be careful with processes you don’t recognize. Ending a core Windows process like csrss.exe or winlogon.exe can crash the system, so search the name first if you’re unsure what it is.
Watch this step in the video (8:12)
powercfg /energy: find power problems
If a laptop drains faster than it should, or a PC won’t go to sleep properly, this command watches the system for 60 seconds and produces an HTML report listing power problems, such as devices that keep the PC awake, USB wake-ups, misconfigured power settings and misbehaving drivers. Leave the PC alone while it runs.
powercfg /energyBy default the file is saved in whatever folder the prompt is in, which is usually System32 when you run as administrator. Browsers can refuse to open files from there, so it’s easier to send the report to your desktop:
powercfg /energy /output "%userprofile%\Desktop\energy-report.html"Open the file in your browser and look at the Errors and Warnings sections first.
Bonus: Windows Memory Diagnostic
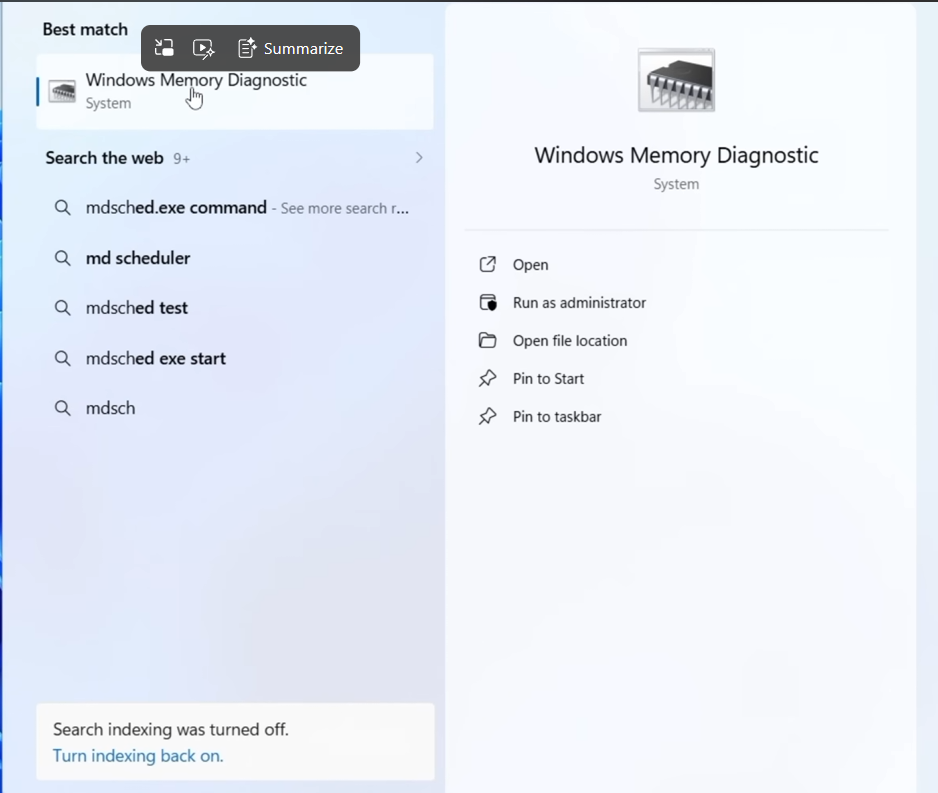
This one isn’t a command, but it belongs in the same toolkit. Faulty RAM can cause crashes, blue screens, apps that close for no reason and corrupted files, and people often blame Windows. Press Start, type mdsched and press Enter. Choose to restart now or at next boot, and the test runs before Windows loads.
If it finds errors, the problem is hardware, and the RAM needs replacing. A clean pass is a good sign, but it doesn’t rule out every memory fault, so if crashes continue, a longer test with a tool like MemTest86 is the next step.
Watch this step in the video (10:27)
Where I’d start
If the problem is a corrupted Windows or odd errors, run DISM and then SFC, and restart in between. If it’s internet trouble, begin with the ipconfig commands and only move to netsh if they didn’t help. If the PC is slow or crashes, check the drive health and the memory test before you assume Windows is at fault. Run them one at a time so you know which one made the difference.
None of these replaces a backup. If something looks like a failing drive or bad RAM, copy your important files somewhere safe before doing anything else.
Questions people ask
Do I have to run all nine commands?
No. Pick the ones that match your problem. DISM and SFC cover Windows file corruption, ipconfig and netsh cover network trouble, and the others are for specific situations.
Should I run SFC or DISM first?
DISM first, then SFC, which is Microsoft’s recommended order. If SFC reports files it couldn’t repair, run DISM again, restart and repeat SFC.
Is it safe to run chkdsk /r on an SSD?
It isn’t dangerous, but a full scan reads every sector and Microsoft notes that repeated scans can add slight wear. Use it when you suspect errors, not as routine maintenance.
Will these commands delete my files?
DISM, SFC, ipconfig, netsh, winget and powercfg don’t touch your personal files. chkdsk can change data on a damaged drive, which is why a backup comes first if the drive may be failing.
Do these work on Windows 10?
Yes, they work on Windows 10 and 11, including 25H2. The one exception is WMIC, which is gone from current Windows 11, so use the PowerShell version for checking drive health.
Why does DISM seem stuck?
The progress percentage can stay put for several minutes, especially around the middle. Give it time and keep the PC online unless nothing has changed after a long wait.
Can I use wmic to check my drive instead?
Not on current Windows 11. Microsoft has removed WMIC, so use the PowerShell command in step 7.
Which of these fixed your problem? Tell me in the comments, and say what the symptom was. That helps other people find the right command.